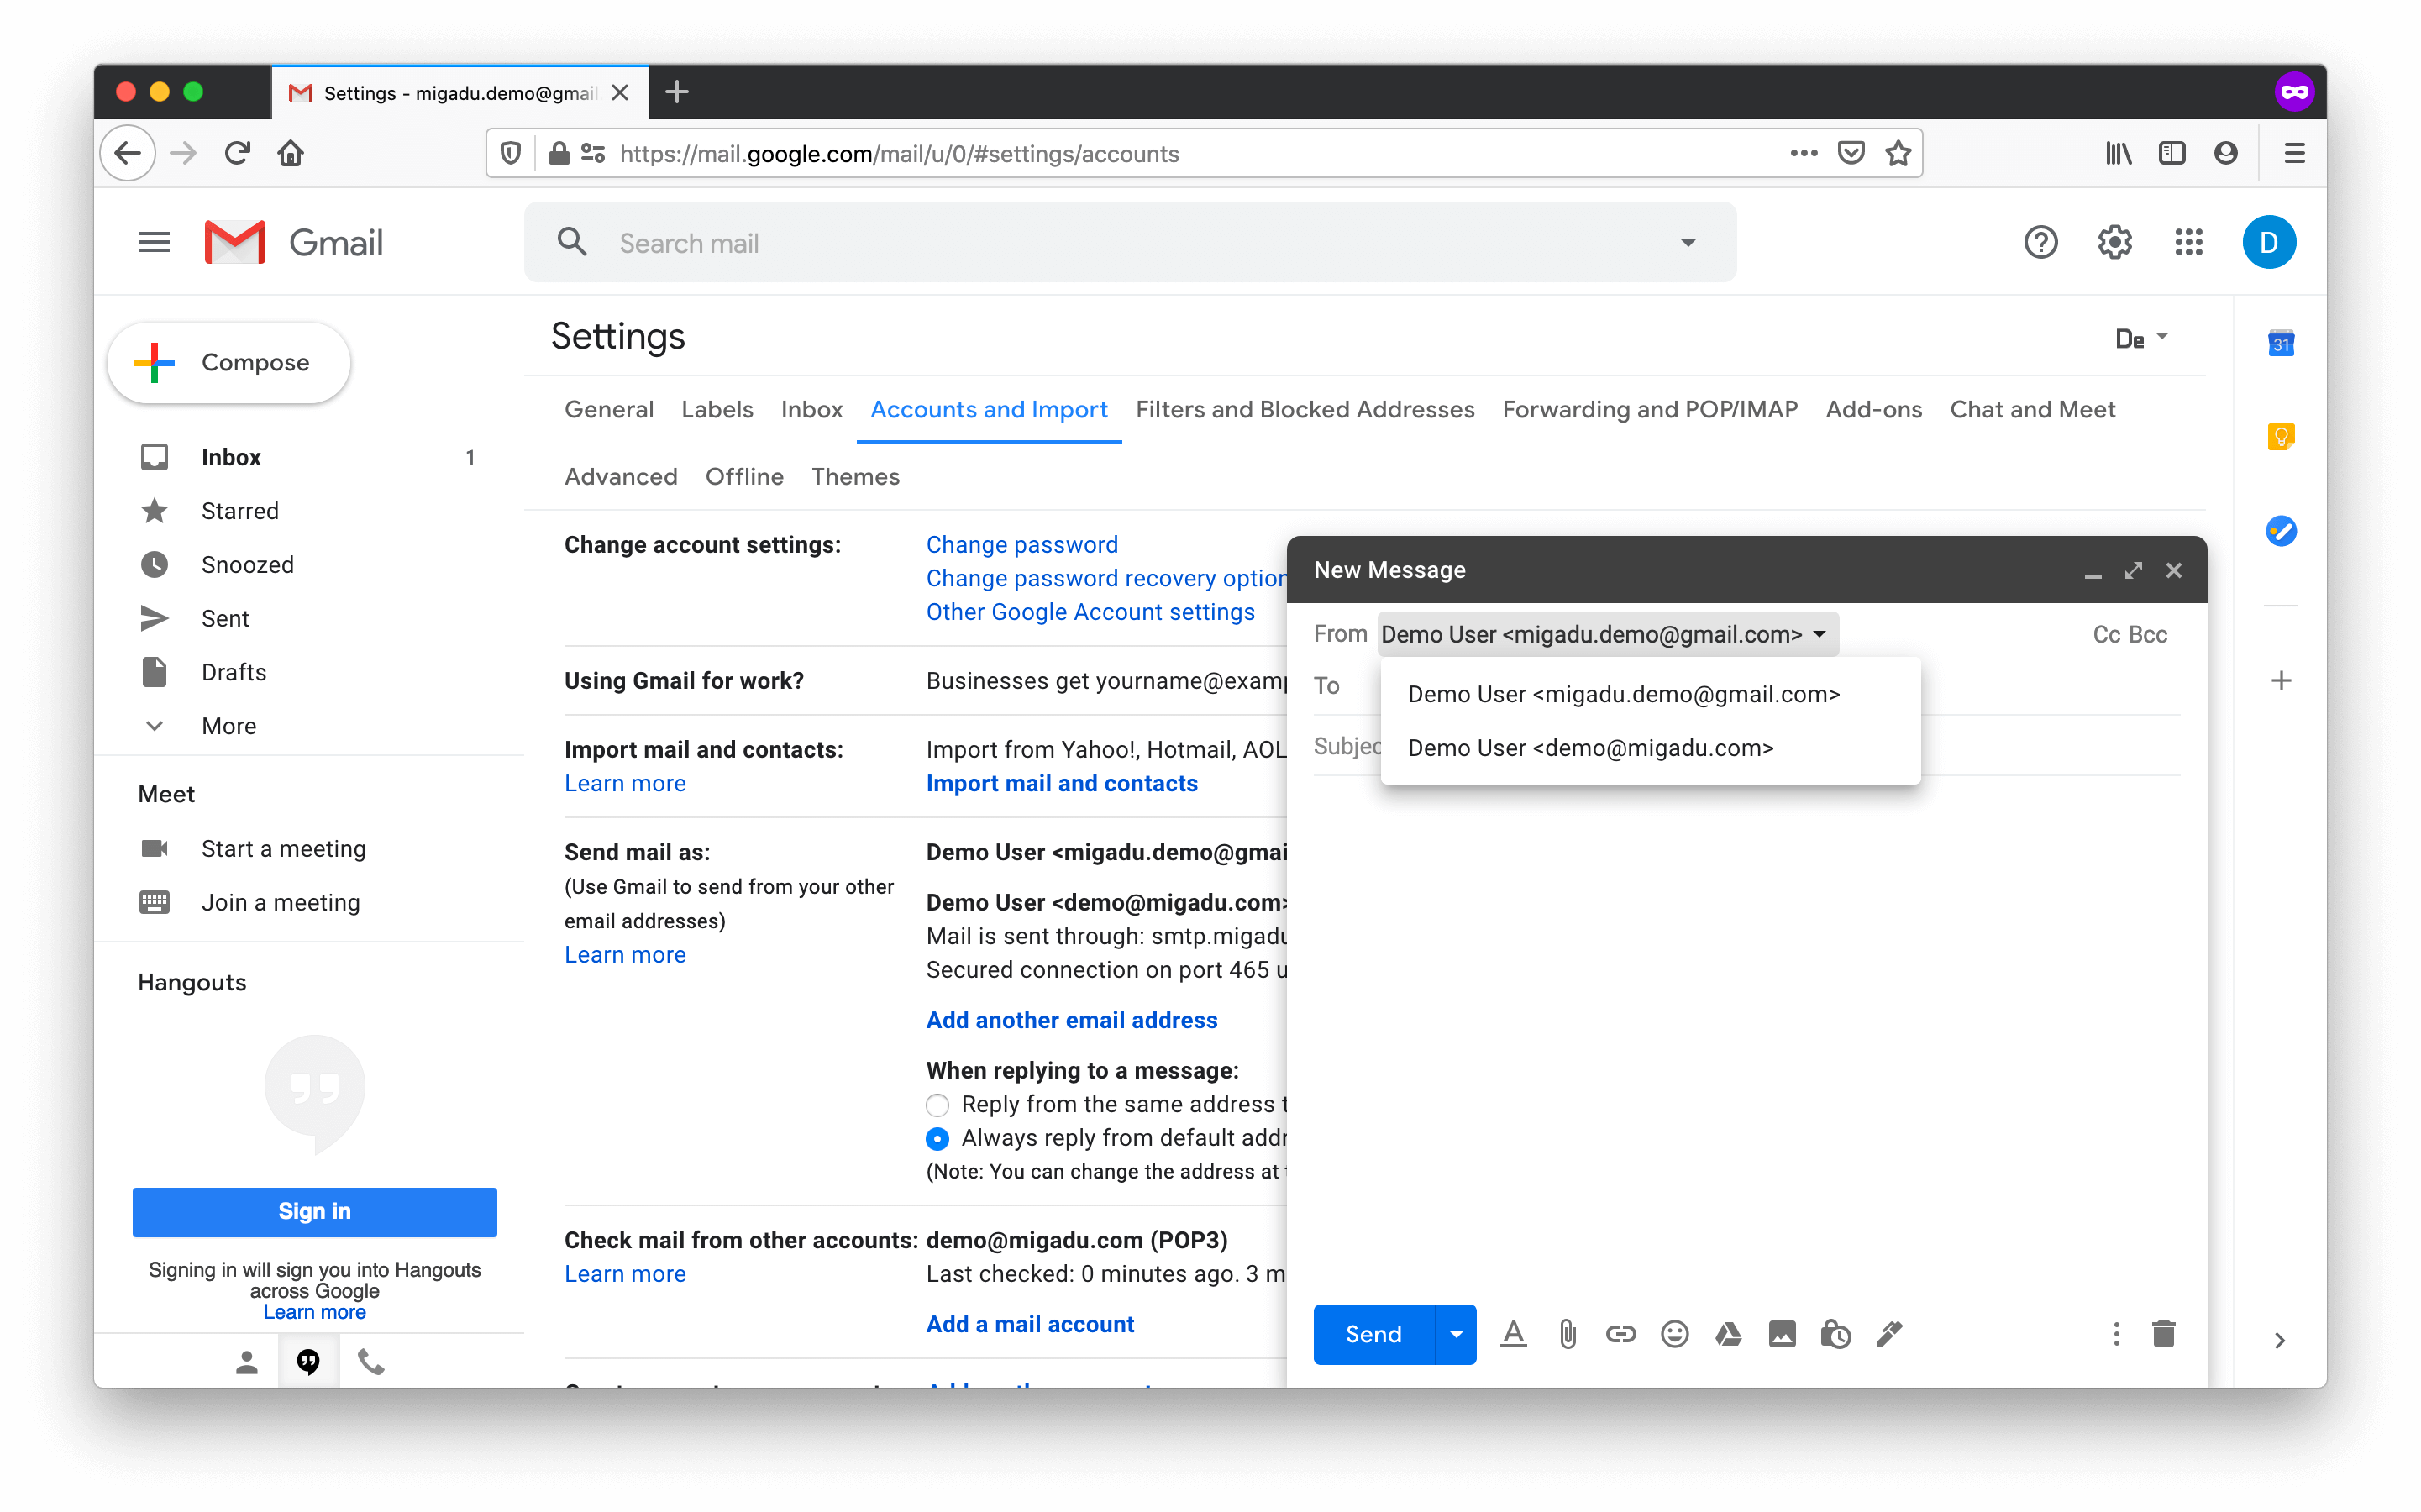
Gmail Integration
Updated Thursday, September 10, 2020
Warning
Before feeding more data to the data hog, we feel obliged to point you to reasons against using Gmail .
Assumptions
In this short guide, we make a few assumptions:
- You have an active Gmail account.
- You have an active mailbox on an active domain within Migadu.
Spam Filter Configuration
POP3 is an archaic protocol that predates IMAP. POP does not know of multi-device access nor of folders. This means that Gmail will not be able to see or import messages found in other folders, not even those of Junk where we filter out spam mail. False positives caught in the Migadu Junk folder will not make it to Gmail’s inbox.
If you never check Migadu mails using standalone clients like Thunderbird or our webmail, this may not be of your big concern. However, if Gmail is your primary email client, you will want to alter the default spam action on your Migadu mailbox.
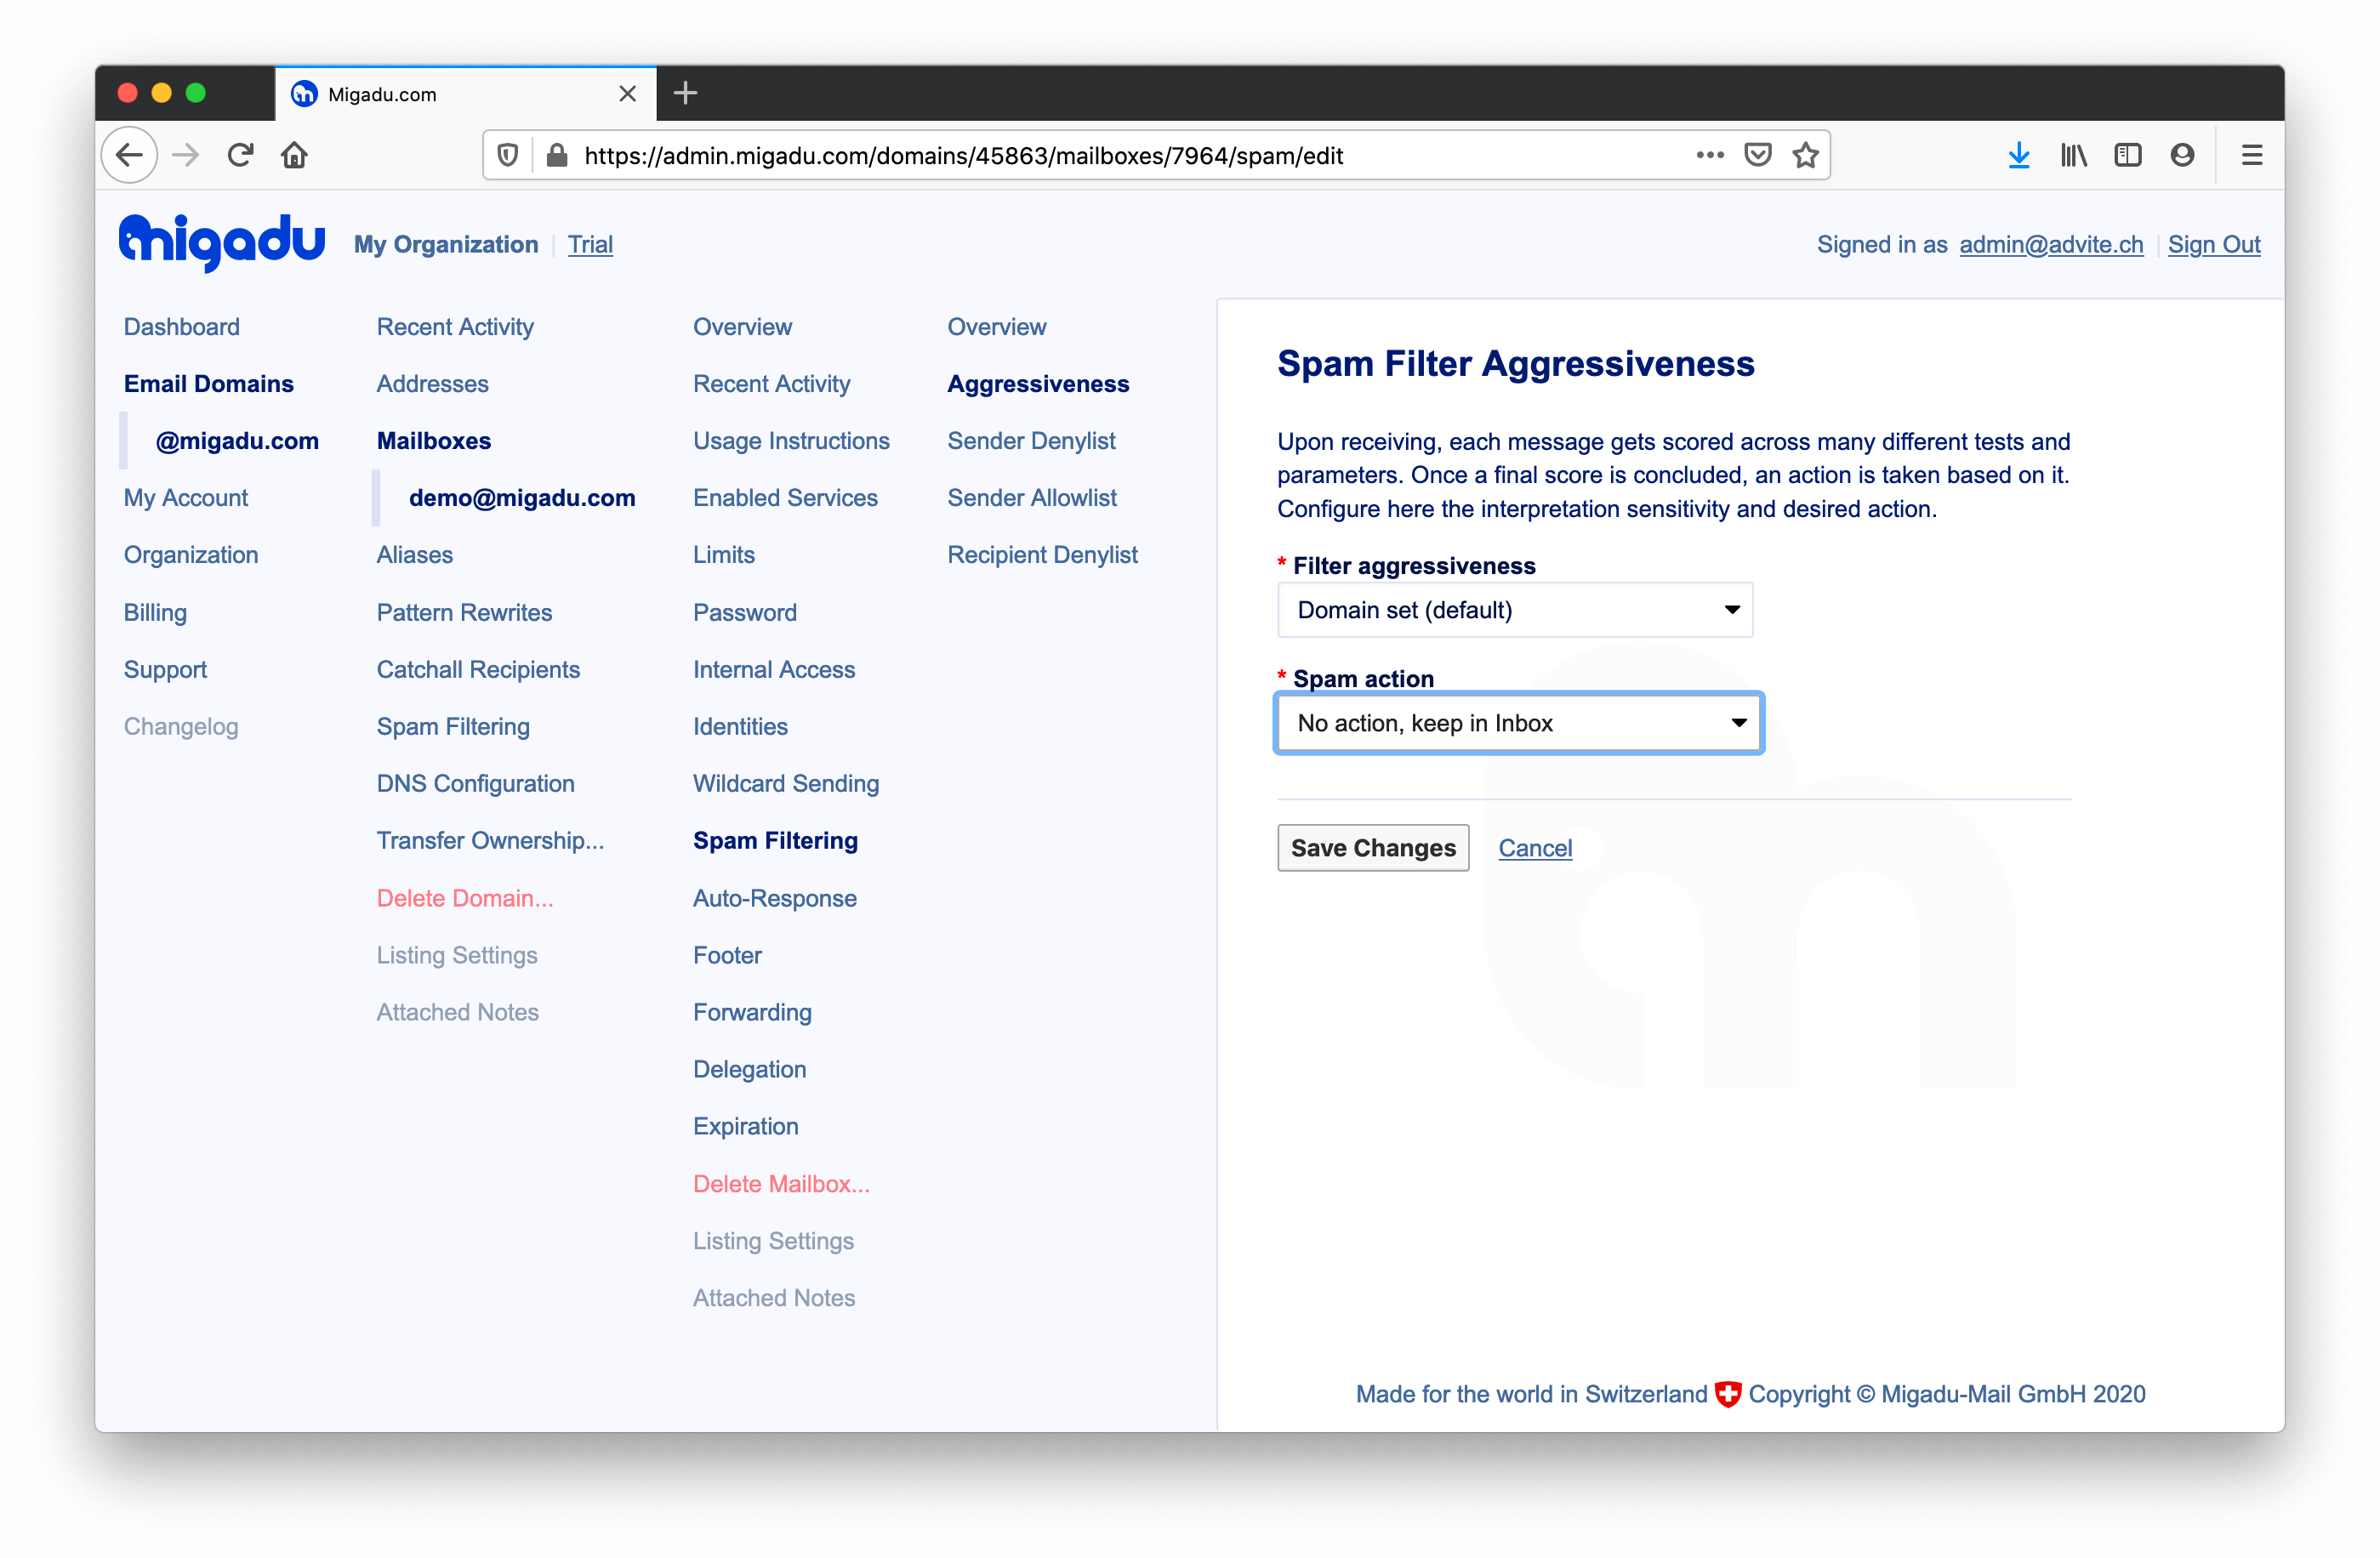
You can do so by changing the mailbox spam action setting on the mailbox spam filter aggressiveness pane. Please choose the action “No action, keep in Inbox” which will let Gmail classify the message.
Gmail Fetching
It is important to understand that POP3 has no support for new message notifications. Gmail will fetch new messages from POP3 according to internal schedule, which can vary from every 5 to 30 minutes.
Configure Gmail
You can open the Gmail settings by clicking the gear in the upper right corner. If offered the Quick Settings pane, make sure to click on See all settings.
There are two things of our interest here:
-
“Send mail as” - in this section you can configure an additional sender identity, by configuring additional SMTP server.
-
“Check mail from other accounts” - in this section you can configure POP3 fetching from other email accounts, such as the one you have on Migadu.
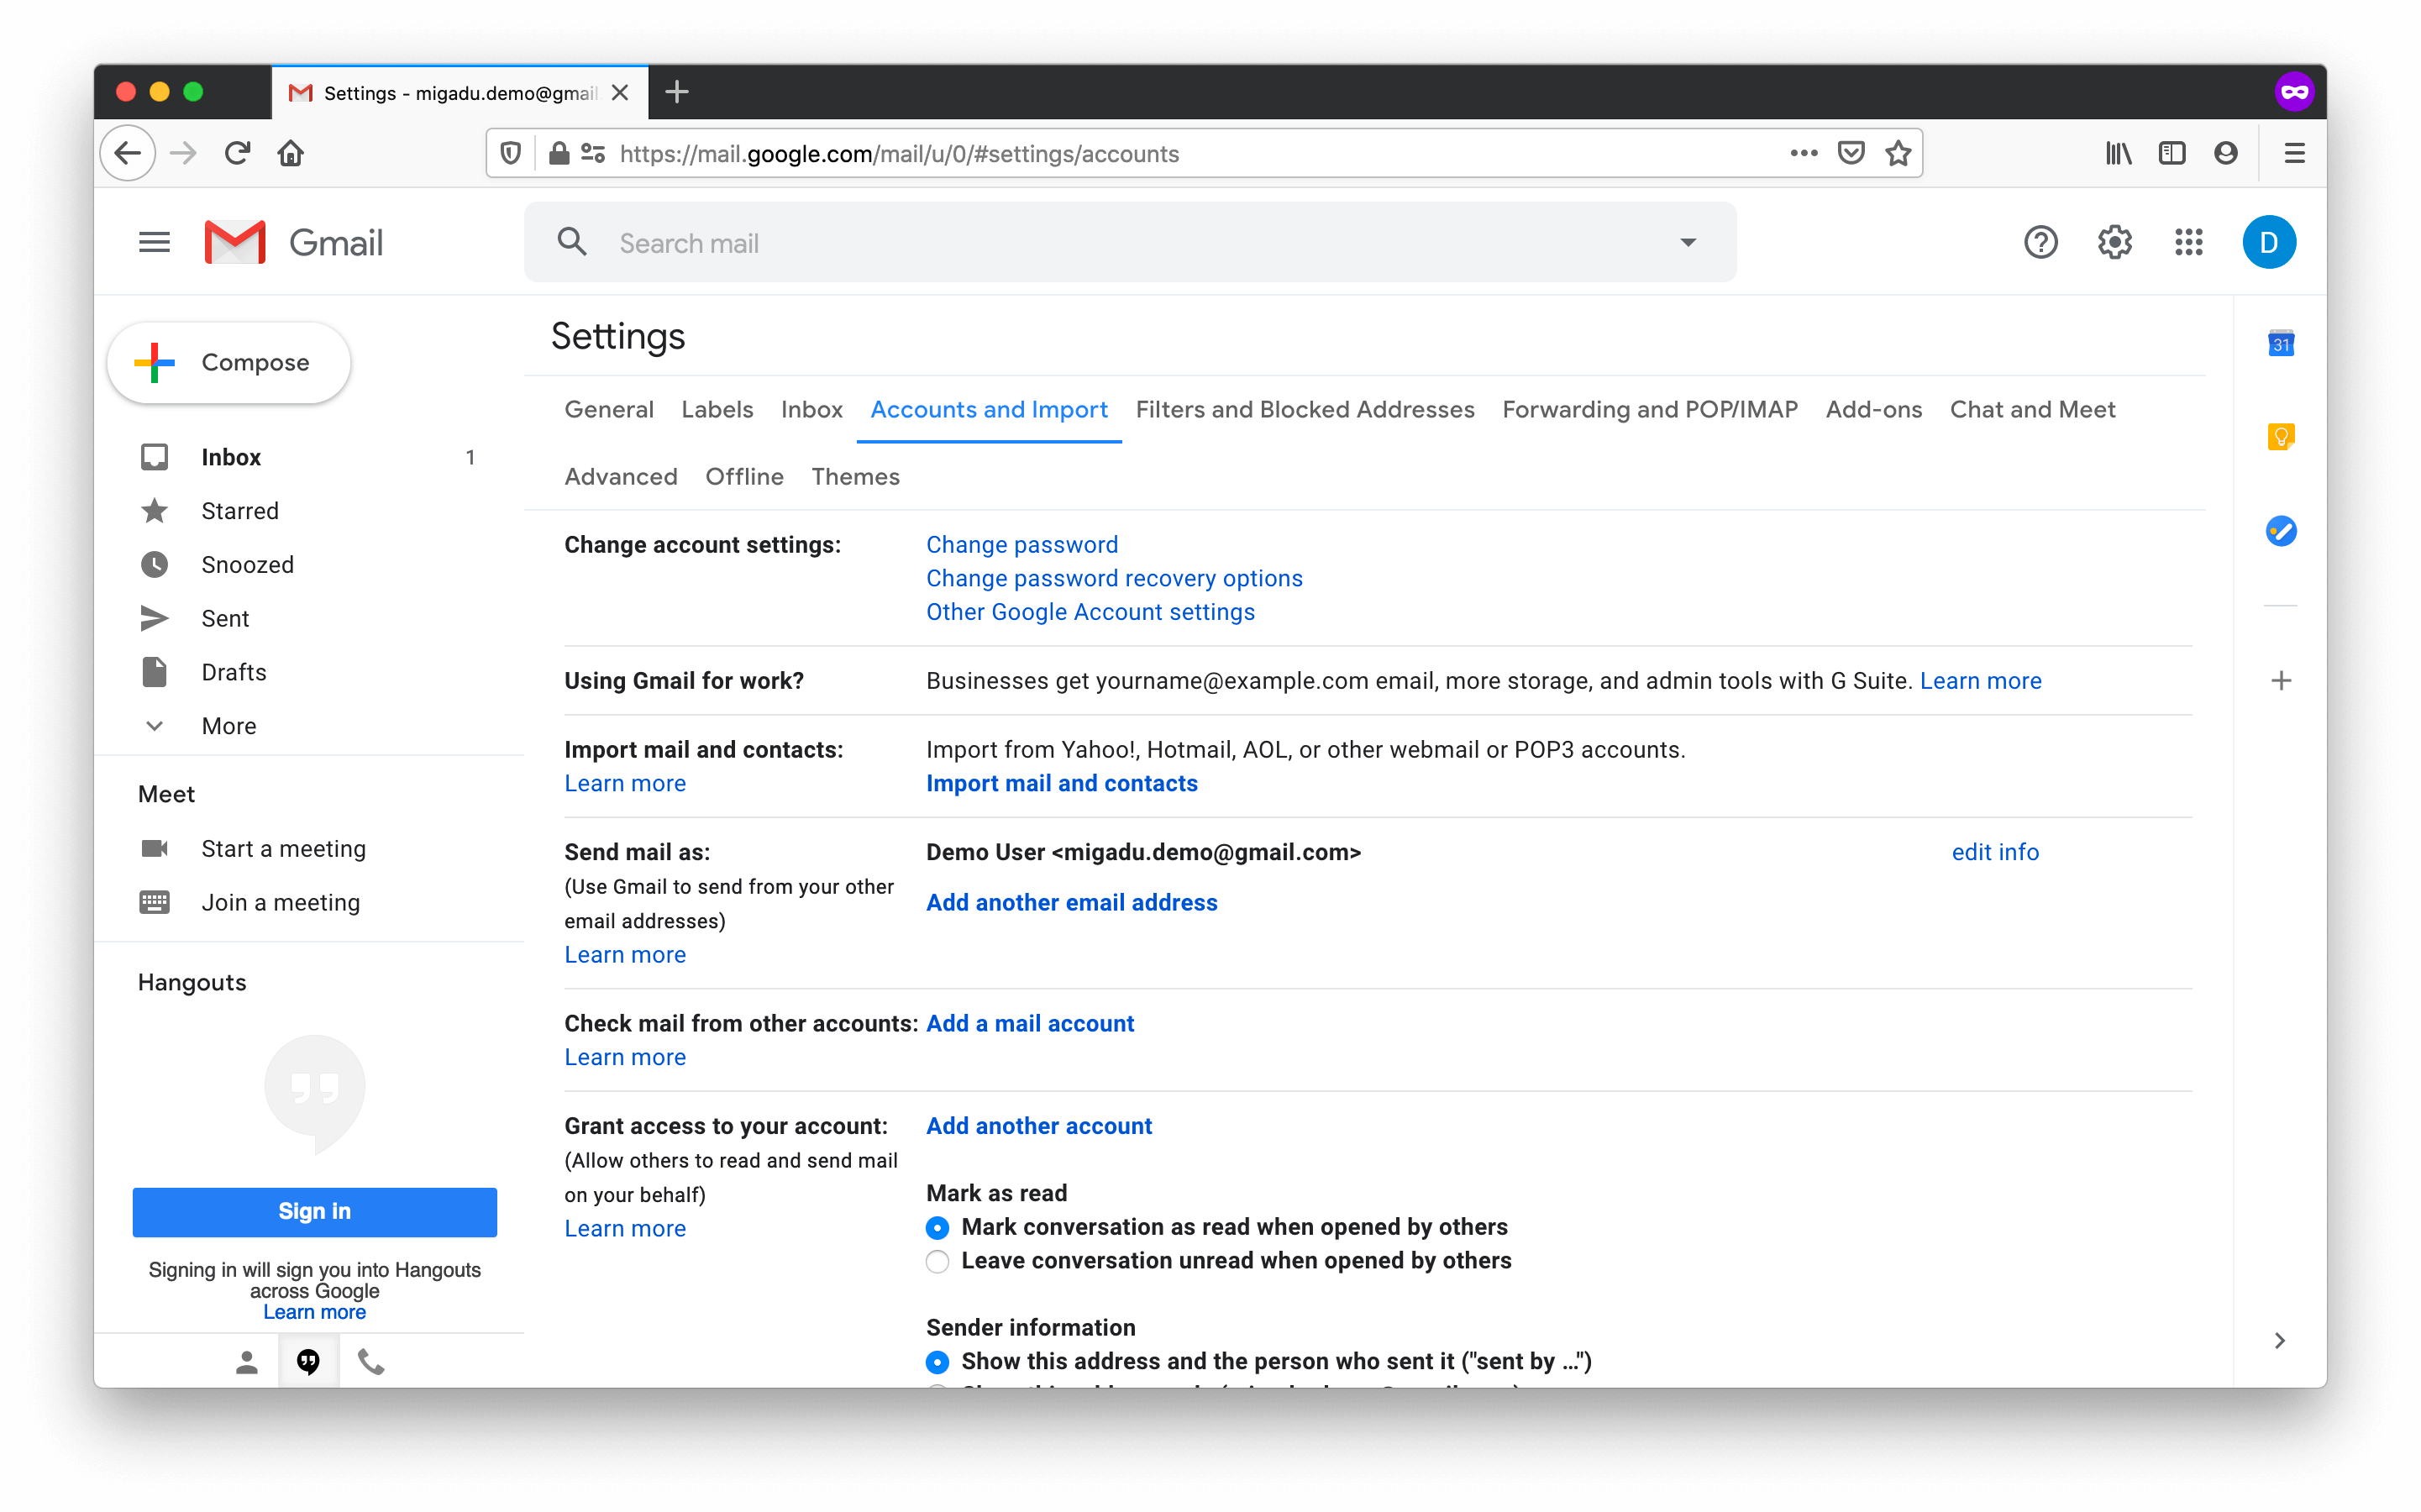
We are interested here in the second option Check mail from other accounts, which will also conveniently offer to setup sending too (first option). Go ahead and click the Add a mail account link which will pop up a wizard.
If nothing happens when you click the link, please ensure your browser is not blocking the popup.
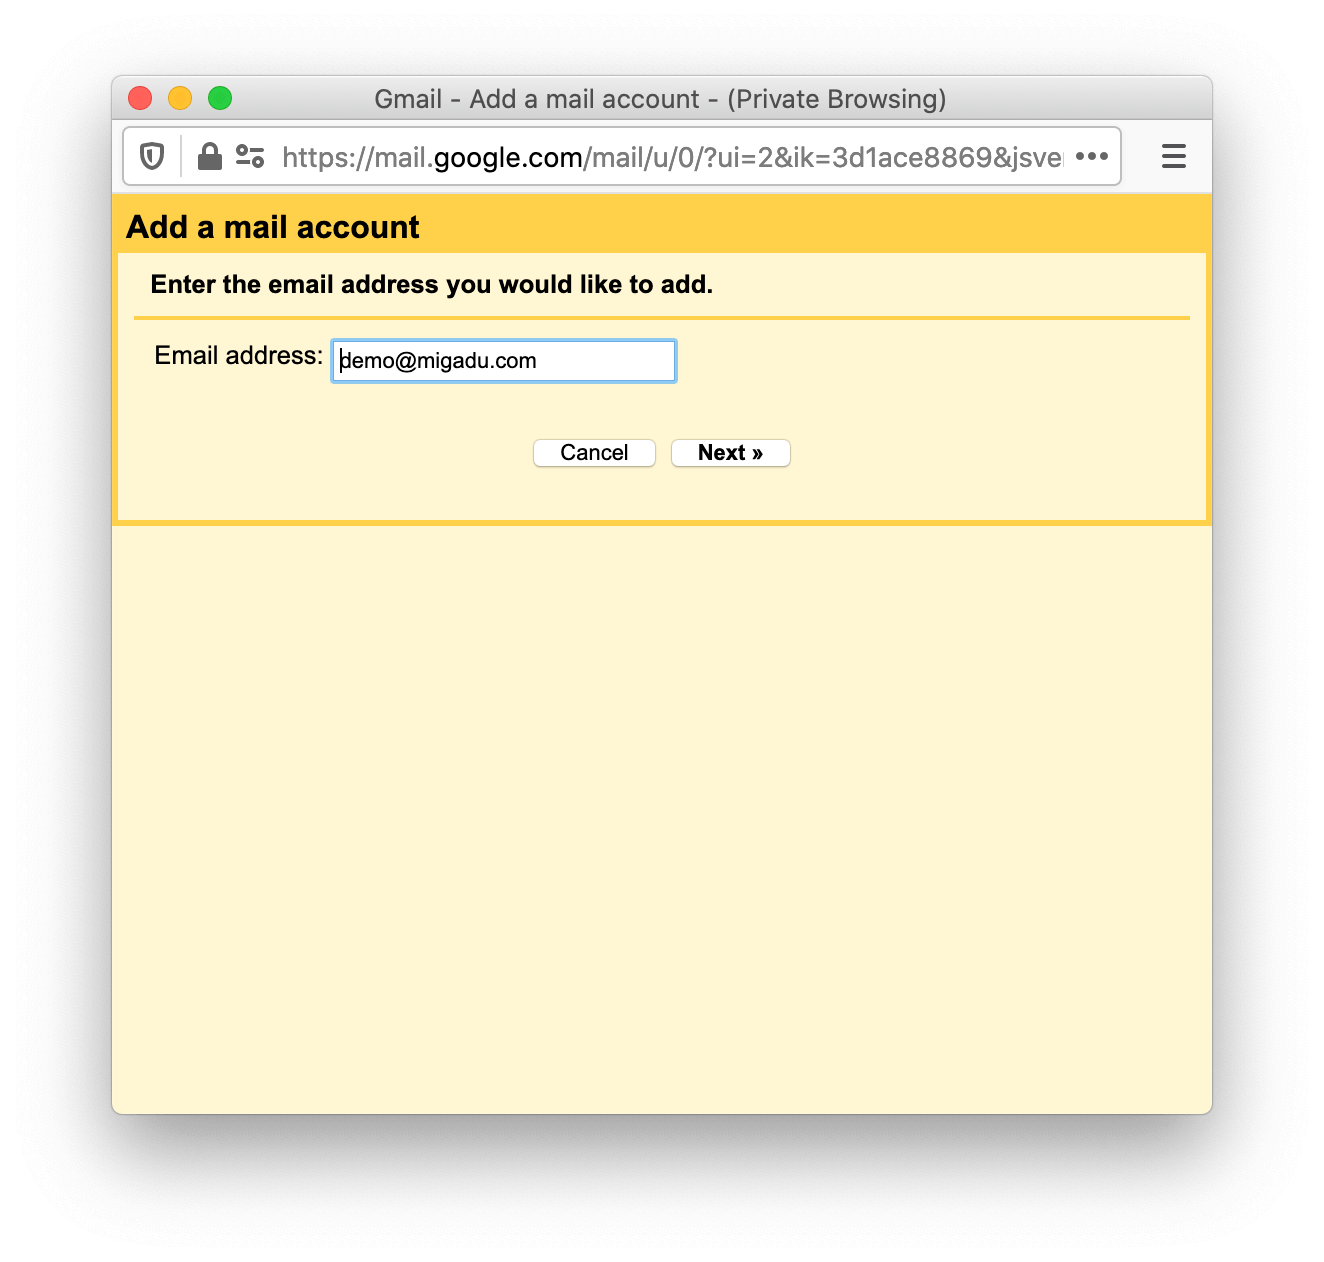
Enter the full email address of your Migadu mailbox now. Continue the wizard by clicking Next.
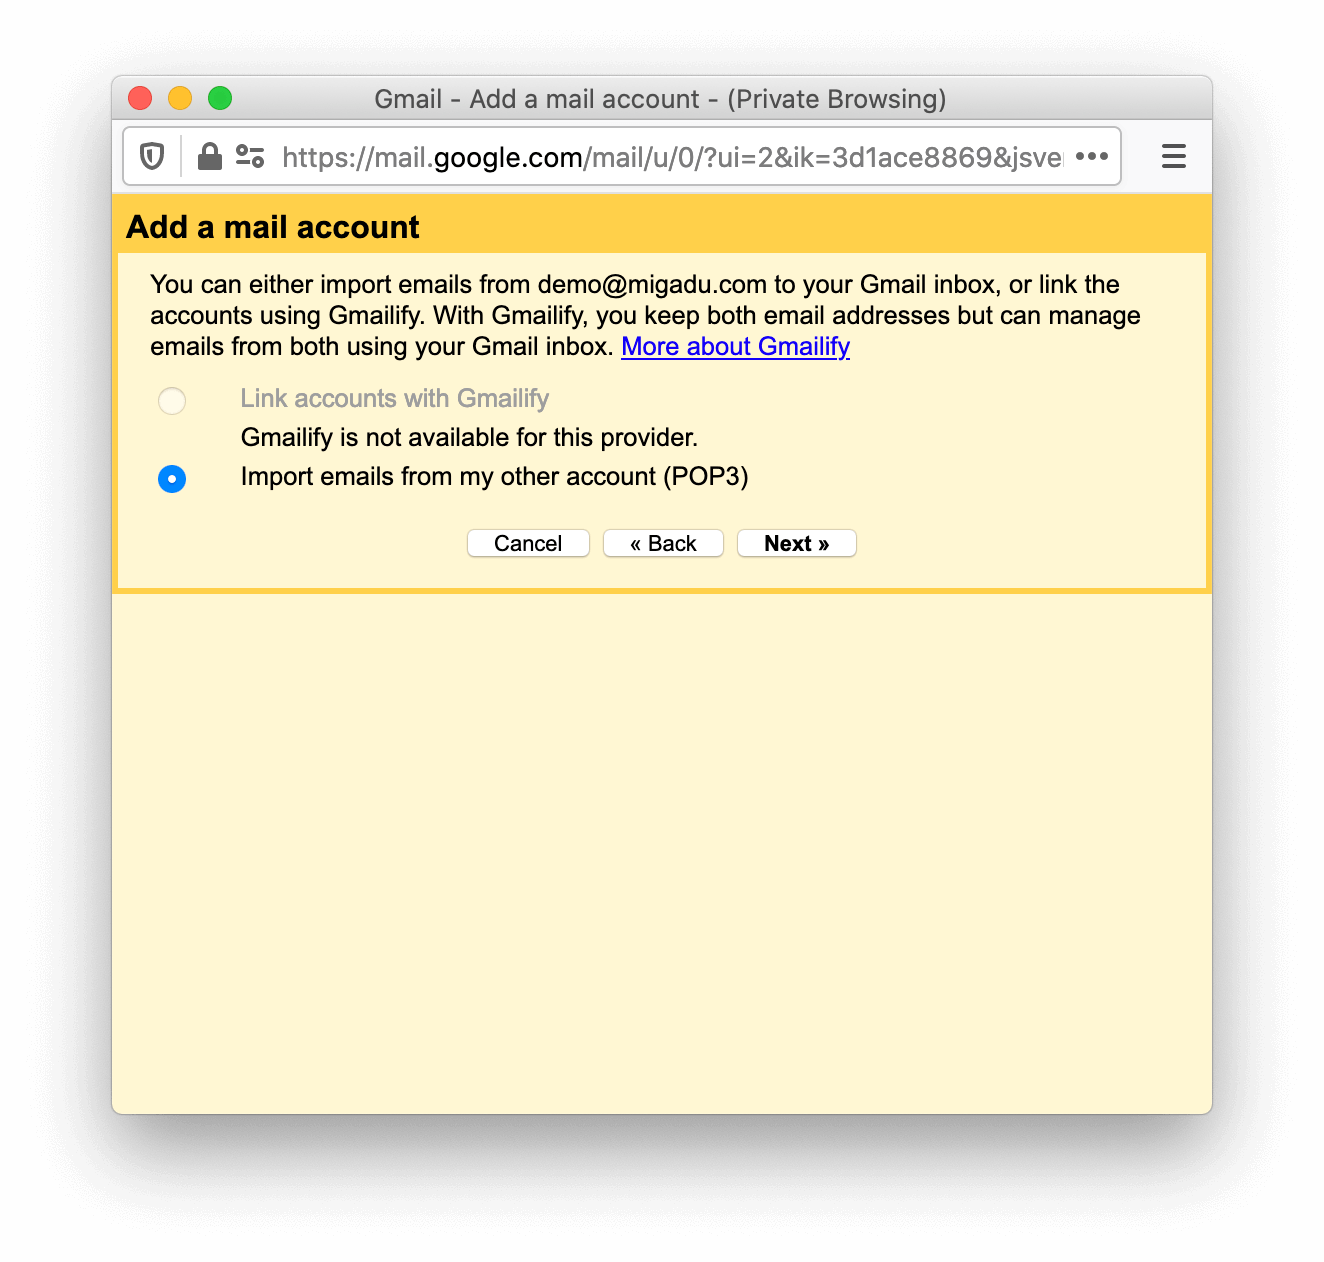
Migadu does not and will not support Gmailify so you can pick Import emails from my other account (POP3) and click Next again.
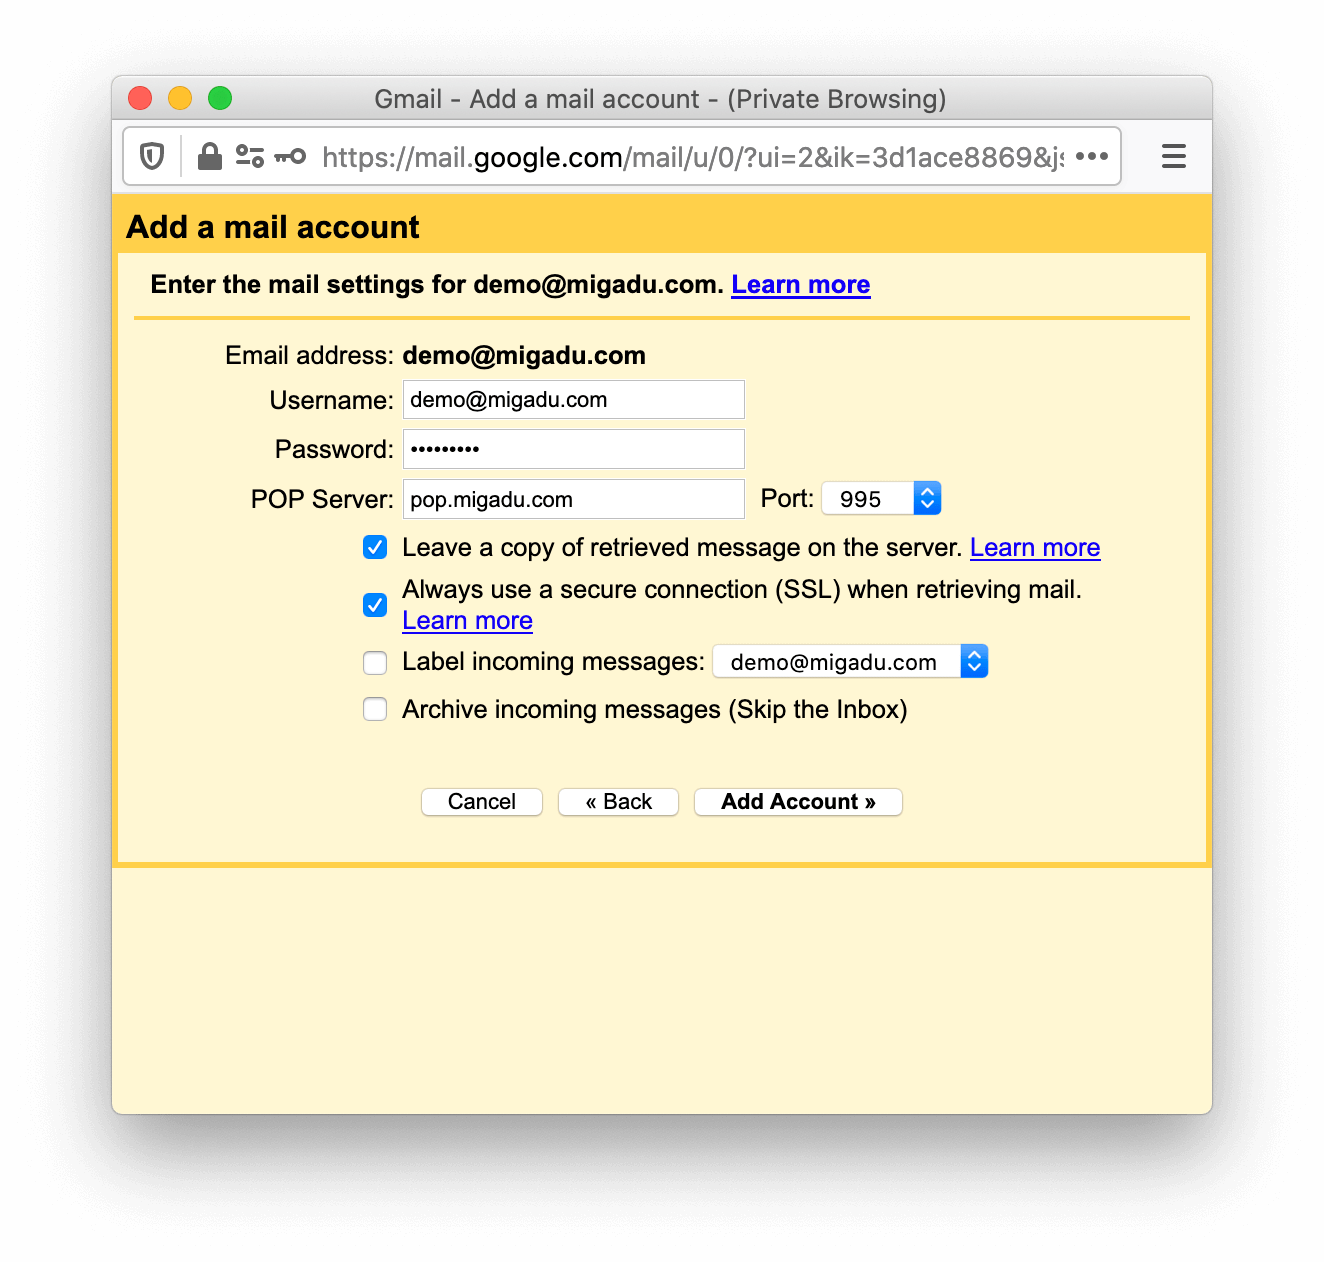
Now you will need to configure Gmail to fetch messages from our servers. Only POP3 protocol is possible.
For the username and password you can use either the Migadu mailbox username and password, or mailbox identity which is allowed only POP access.
The server name is pop.migadu.com on port 995 and you must enable the option to Always use a secure connection (SSL) when retrieving mail.
You most likely want to keep a copy of your message on Migadu servers, so we recommend keeping that option enabled. Without this option, messages will disappear from your Migadu mailbox, in case you are accessing it via separate email clients.
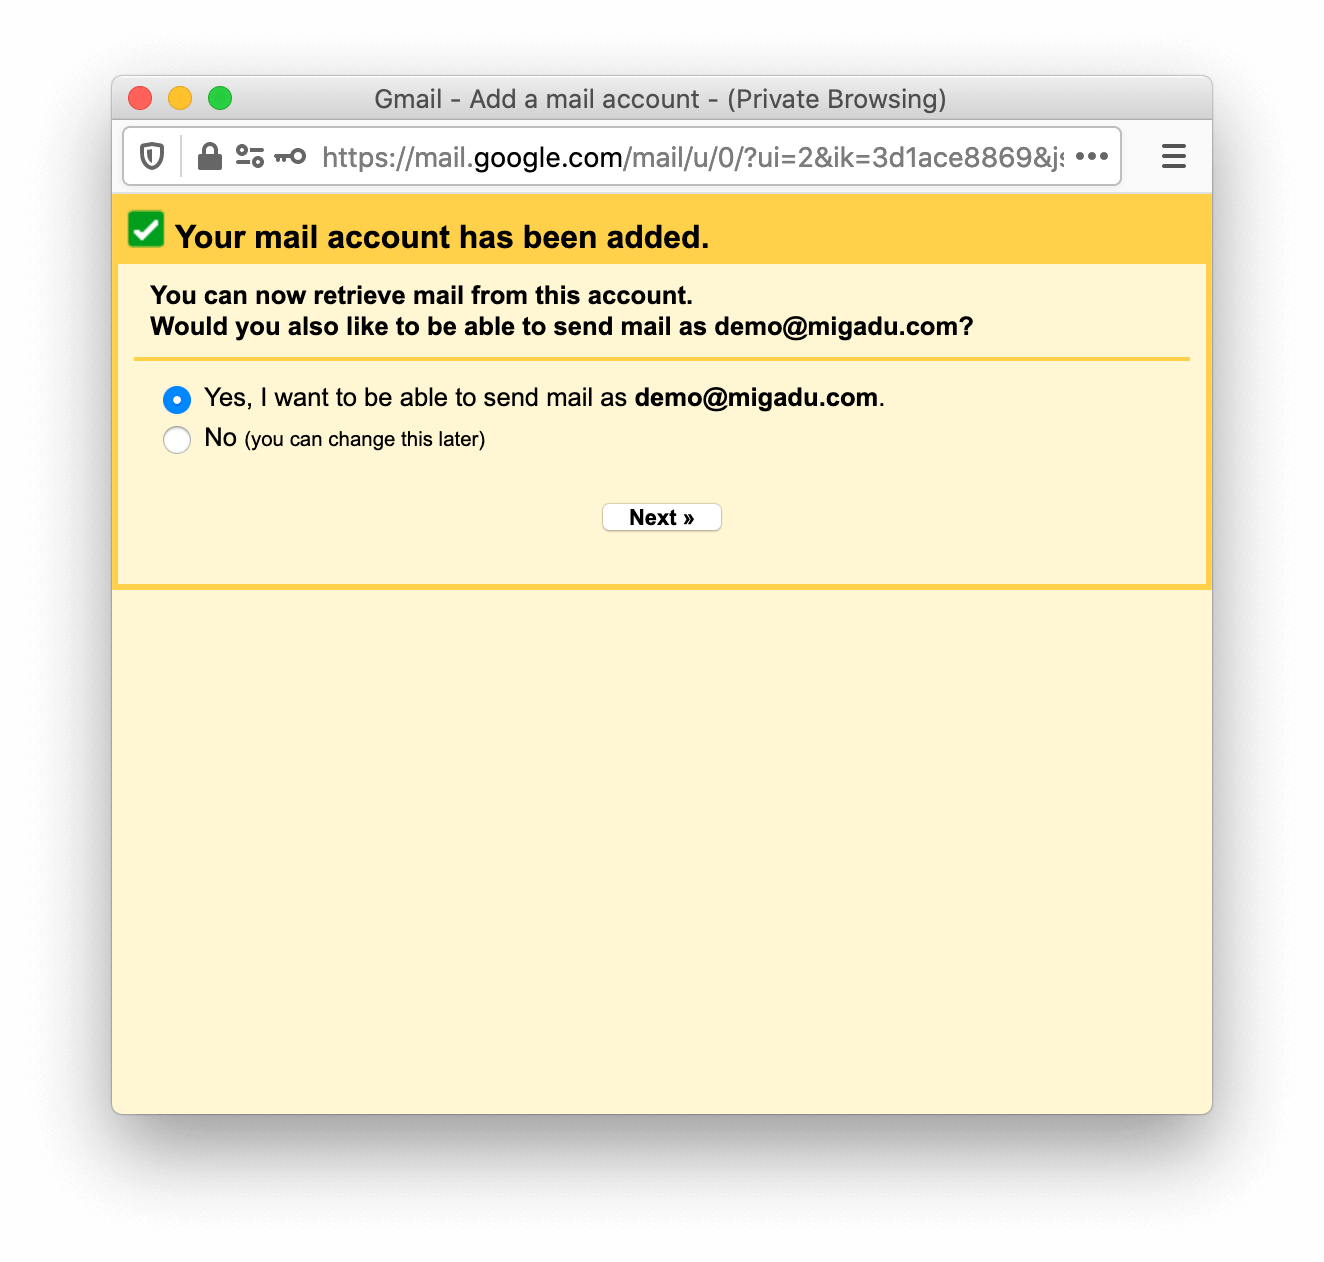
Taken your credentials are correct, the fetching setup is now complete. Gmail wizard will now offer us to configure sending as the previously configured account. If you are already importing your mails periodically, you most likely want to be able to respond from the same address.
Select Yes, I want to be able to send mail as… and continue by clicking the button Next.
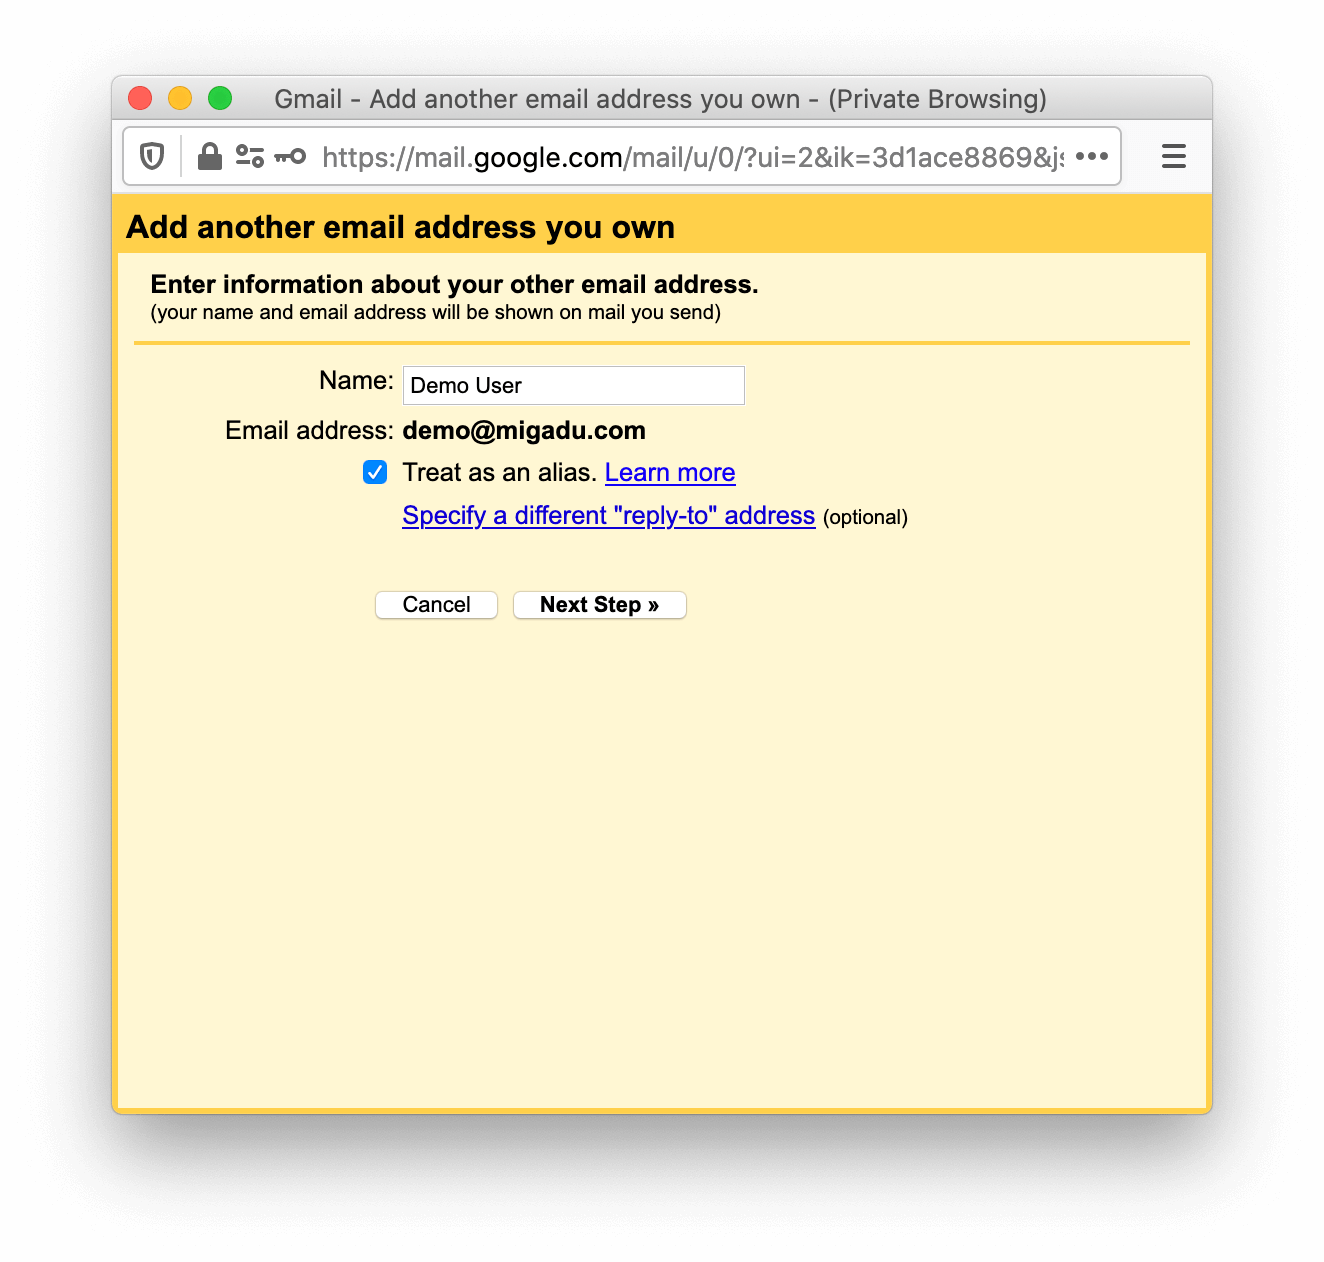
You can now configure the name that will accompany messages sent from the Migadu account within Gmail. This guide assumes you own both of the mailboxes here, so you want to have the Treat as an alias option checked. For more information on this option, please refer to Gmail’s documentation (link Learn More).
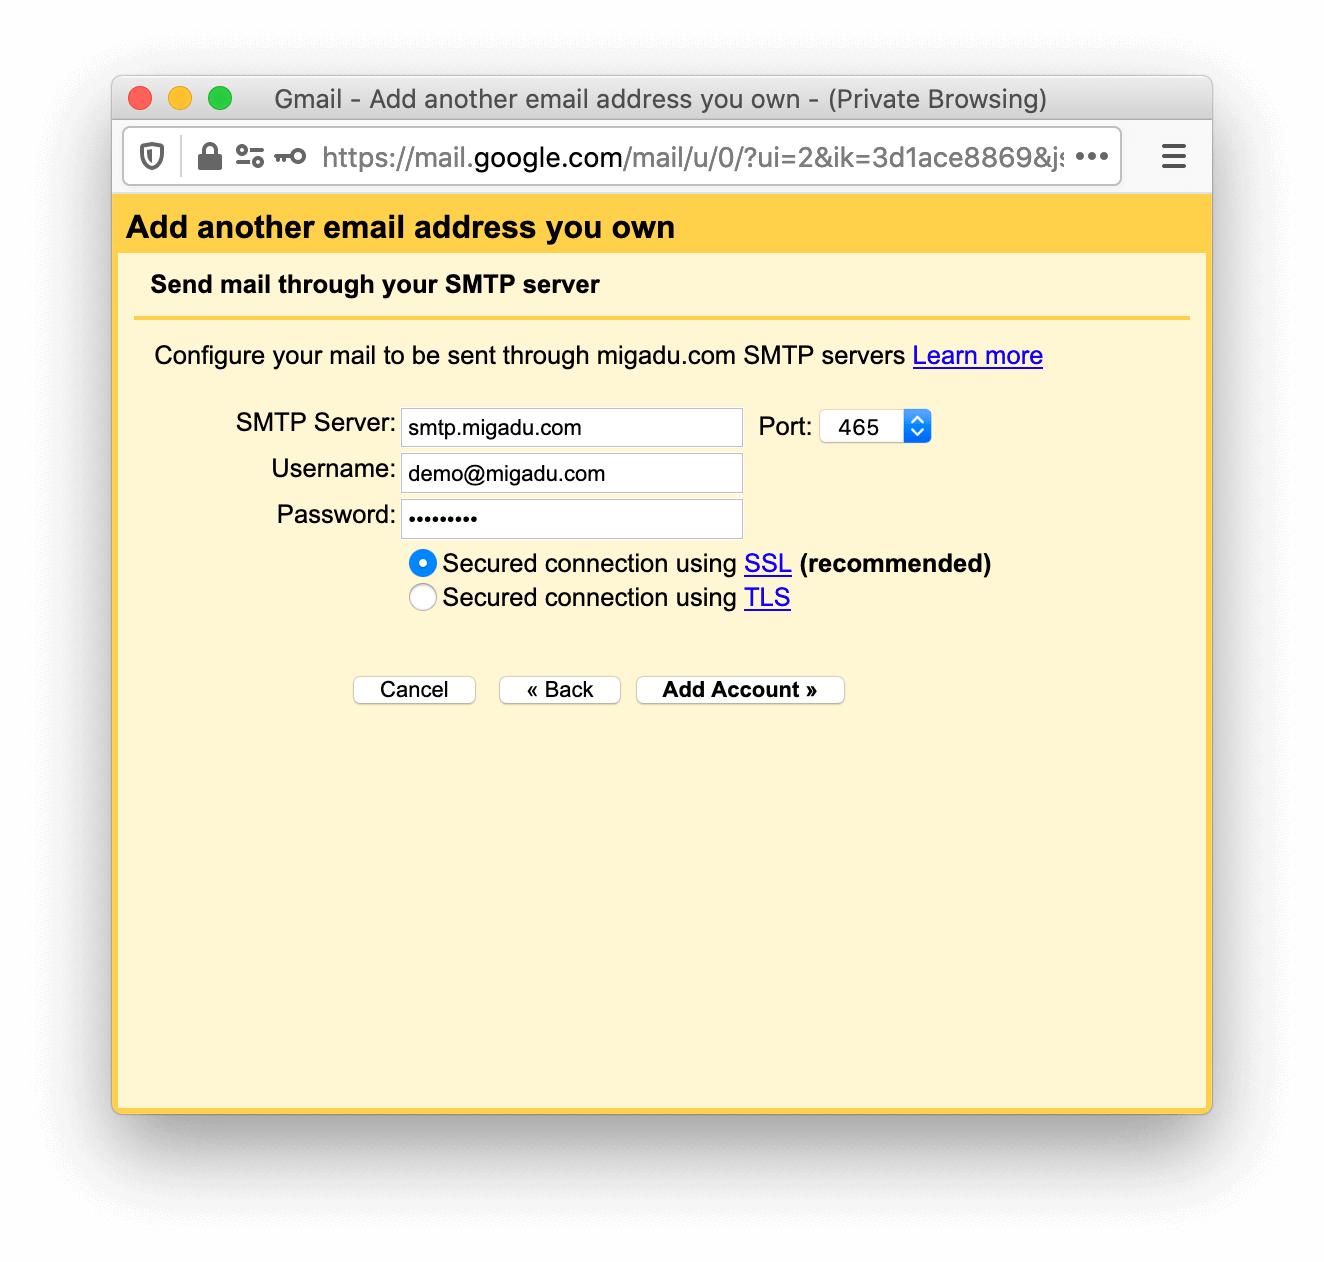
Now you need to configure Gmail to send via our SMTP servers. Please use the same credentials for SMTP as you have used previously when configuring POP3 fetching.
Our SMTP server address is smtp.migadu.com on port 465 and you must select SSL connection security (recommended).
Finally, click the button Add Account.

To confirm sending as the user, a confirmation email will be sent to the Migadu mailbox. You can either click the link directly or copy-paste the received confirmation code into the final step of the Gmail wizard.
If you attempt to compose a message now, you will be given the option to choose the From sender. Choosing the Migadu mailbox will send via Migadu SMTP.
